How to Clean a Swing Check Valve (Beginner’s Guide)

Cleaning a swing check valve is easier than you think—and it’s one of the smartest ways to prevent flow problems, leaks, and costly downtime. With just a little attention, you can extend the valve’s life, improve system efficiency, and avoid emergency repairs.
In this guide, we’ll walk you through everything you need to know about how to clean a swing check valve, step-by-step. Whether you’re a plant technician, DIY homeowner, or just starting in the field, this guide is made to help you understand the cleaning process in plain terms. We’ll also answer common questions like “Can you manually open a swing check valve?” and “What is the maintenance of swing check valve?”
Let’s dive in.
What Is a Swing Check Valve?
A swing check valve is a type of check valve that allows flow in one direction and prevents backflow in the other. It works by using a swinging disc that opens when fluid flows forward and closes when flow stops or reverses.
Quick Takeaways:
- A swing check valve uses a disc that swings open with forward flow and shuts when flow reverses.
- It’s commonly used in water systems, HVAC, and pipelines to stop backflow.
- It’s reliable, low-maintenance, and ideal for large-diameter or low-pressure systems.
Why Regular Cleaning Matters
Swing check valves last long, but they’re not maintenance-free. Without cleaning, debris and corrosion can cause the valve to stick open or closed, leading to pressure issues or even complete system shutdown.
Check valve cleaning is a proactive step to:
- ✅ Prevent system contamination
- ✅ Improve flow performance
- ✅ Avoid unplanned repairs
- ✅ Extend valve and pipeline lifespan
Neglecting cleaning can damage the valve seat, loss of seal, or expensive pipeline failures.
Tools You’ll Need
Before starting, gather the following tools:
- Wrenches or spanners (to remove valve)
- Clean cloths and brushes
- Compatible cleaning solution (e.g., hydraulic fluid or system medium)
- Lubricant (as specified by the valve manufacturer)
- Safety gloves and goggles
Always refer to the valve manufacturer’s guidelines before beginning.
Step-by-Step: How to Clean a Swing Check Valve
1. Turn Off Flow and Release Pressure
Before cleaning, shut off the flow on both sides of the valve and open a nearby drain or vent to release any trapped pressure. This prevents fluid from spilling when the valve is removed.
Tip: Make sure the system is fully depressurized to avoid accidents.
2. Remove the Valve Safely
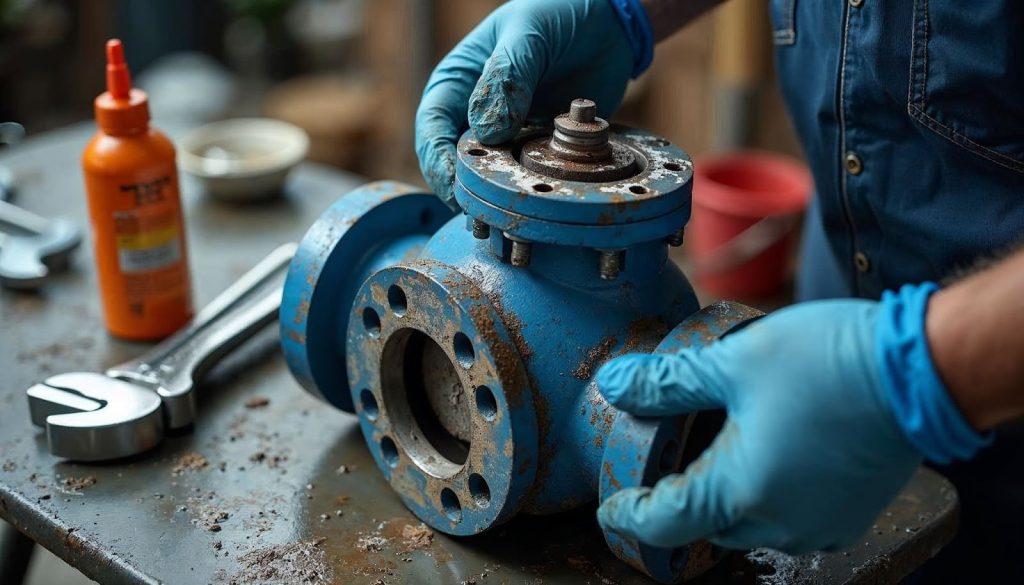
Loosen the bolts or unions holding the 1 2 swing check valve in place. Remove it carefully, and place it on a clean, dry surface. Note the flow direction marked on the valve body.
3. Inspect for Visible Damage
Check for:
- Rust or corrosion on the disc and seat
- Cracks or chips on the swing arm
- Leaks around the gasket or seal
- Debris or sediment buildup
If any part is damaged beyond cleaning, replace it.
4. Clean All Internal Parts Thoroughly

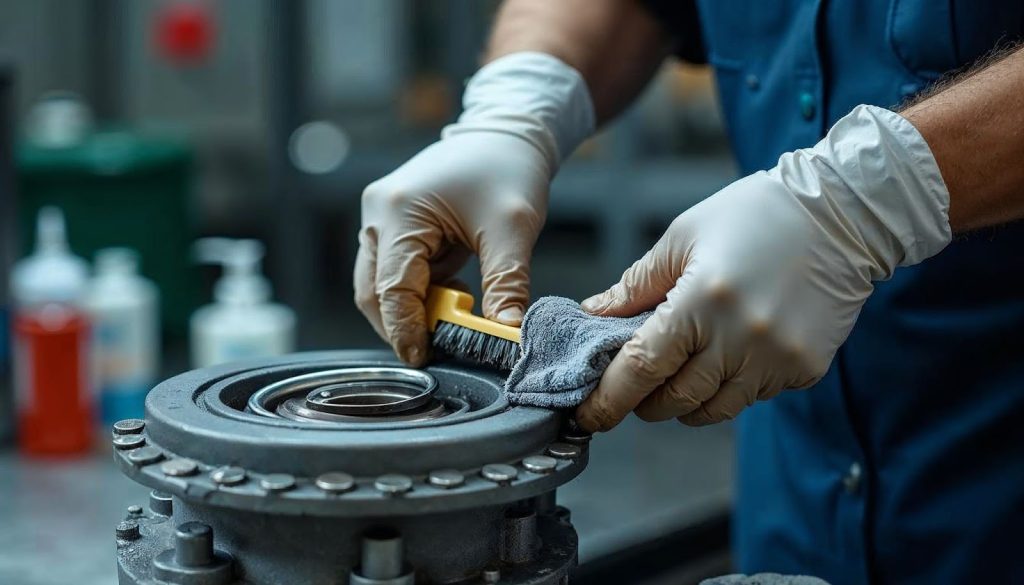
Use a soft brush and cleaning fluid (hydraulic oil or system fluid) to scrub:
- The disc
- Valve seat
- Interior surfaces
Wipe away all grime, debris, and scale. Avoid abrasive materials that could scratch sealing surfaces.
Don’t forget: Clean valve ports and flanges too—they often trap buildup.
5. Smooth and Polish Contact Surfaces
If you notice rough spots or scratches, use fine lapping paste or polishing cloth to smooth them out. Proper sealing depends on clean, flat surfaces.
6. Lubricate Moving Parts
Apply a valve-safe lubricant to the hinge pin, disc, and swing mechanism. This reduces wear and improves operation, especially in high-cycle systems.
Do not over-lubricate—just a thin layer is enough.
7. Reassemble and Test
Place the valve back into the pipeline, ensuring it’s oriented correctly for flow. Tighten all connections securely. Slowly reintroduce system pressure and check for:
- ✔ Leaks
- ✔ Proper disc movement
- ✔ Noise or vibration
If all checks out, you’re done!
Maintenance Tips for Long-Term Performance
Cleaning is just one part of valve upkeep. Here’s how to keep your swing check valve in peak shape:
- 🔧 Clean regularly (every 6–12 months, depending on system usage)
- 🔍 Check for leaks or unusual noise after startup
- ⚙️ Inspect temperature and pressure to ensure they’re within spec
- 🧽 Add filters or strainers upstream to reduce debris
- 🧴 Reapply lubrication during system shutdowns
Frequently Asked Questions (FAQ)
What is the maintenance of swing check valve?
Regular inspection, cleaning, leak checking, lubrication, and ensuring correct installation orientation are all part of proper swing check valve maintenance.
Can you manually open a swing check valve?
No. Swing check valves operate automatically. They open with flow and close when flow reverses—manual opening is not recommended.
How often should I clean my swing check valve?
It depends on system conditions, but every 6–12 months is a good rule of thumb for general applications.
What happens if I don’t clean the valve?
Debris buildup can cause the disc to stick, leading to leaks, water hammer, or full system failure.
Final Thoughts: Keep Flow Smooth with Smart Maintenance
Keeping your swing check valve clean is one of the easiest ways to protect your entire pipeline system. With just a bit of regular maintenance and attention, you can prevent costly damage, save energy, and keep everything flowing just as it should.
Looking for reliable, durable swing check valves? PANS VALVE has been manufacturing industrial valves for over 30 years with ISO-certified quality and fast global delivery. From DIN to API standard valves, we offer precision engineering and fast lead times you can trust.
Explore our DIN swing check valve for more technical specifications and product options.
Resources
Search
Categories
Tags
Product
- Ball Valve
- Floating Ball Valve
- Fully Welded Ball Valve
- Trunnion Ball Valve
- Check Valve
- Cast Lift Check Valve
- Cast Swing Check Valve
- Wafer Type Check Valve
- DIN Valve
- DIN Bellow Sealed Globe Valve
- DIN Globe Valve
- DIN Rising Stem Gate Valve
- DIN Swing Check Valve
- Forge Valve
- Forged Check Valve
- Forged Floating Ball Valve
- Forged Gate Valve
- Forged Globe Valve
- Gate Valve
- Bellow Sealed Gate Valve
- Flat Gate Valve
- Wedge Gate Valve
- Globe Valve
- Cast Globe Valve
- Plug Valve
- Eccentricity Plug Valve
- Inverted Pressure Balance Lubricated Plug Valve
- Orbit Plug Valve
- Sleeve Type Plug Valve
- Slurry Valve
- Slurry Valve
- Strainer


